
To take care of your leather shoes is to value your investment. This guide will walk you through the essential steps to make your shoes last for many years.
First, it is important to understand that leather is a natural product, and we believe in using it as such. We craft our shoes exclusively from full-grain leather, which comes from the top, premium part of the hide. At the tannery in France, the leather is finished with a natural aniline-based dye, resulting in a translucent finish rather than an unnatural polymer topcoat. This aniline finish yields a rich, luxurious feel and, most importantly, retains the hide’s natural surface grain.
The pores—and by nature the irregular surface grain—reflect light in many directions. To polish or shine your shoes is therefore simply to fill these pores with natural creams and waxes until the final layer of polish reflects light mostly in a single direction.
Step 1. Always use a shoehorn
Between the leather upper and leather lining at the heel, there is a heel counter designed to cup your heel and prevent it from lifting while you walk. To avoid damaging the heel counter and the top line of your shoes, using a shoehorn is essential.
Step 2. Always use wooden shoetrees
Probably the most important—but often overlooked—step. The leather lining, upper, insole, natural cork footbed, and welt are all made from natural materials and thus susceptible to moisture damage. Moisture trapped inside the shoes can cause the leather to crack, the insole to warp, the welt to harden, and the cork footbed to decay.
Natural, untreated wooden shoetrees are the single most important tool to help your shoes maintain their original shape. Immediately after wearing, the trees absorb excess moisture inside the shoe, aiding in drying from the inside out. Additionally, wooden shoetrees straighten the insole, outsole, and leather upper, preventing cracks and creasing.
Step 3. Keep your shoes clean
Between wears, keep your shoes free of dirt by brushing the upper and the welt area (the zone between the upper and the sole). A shoe brush need not be the most expensive, but should also not be too coarse.
Before polishing your calf leather shoes, use a soft brush to remove mud and dirt. If you skip this, the cream and wax applied afterward will only lock in dirt further. For particularly dirty shoes, use a damp, clean cotton rag to wipe the surface gently. Allow shoes to dry completely before proceeding.
Step 4. Properly condition the leather
Just like our skin, untreated leather dries out over time and becomes brittle. Regular application of leather conditioner is recommended to keep leather supple and hydrated. While many use oils, these are not always ideal. The goal is to restore the moisture and oil content the leather had after tanning. Regular calf leather benefits more from moisture and protein than additional oils, which can soften leather initially but cause faster drying over time.
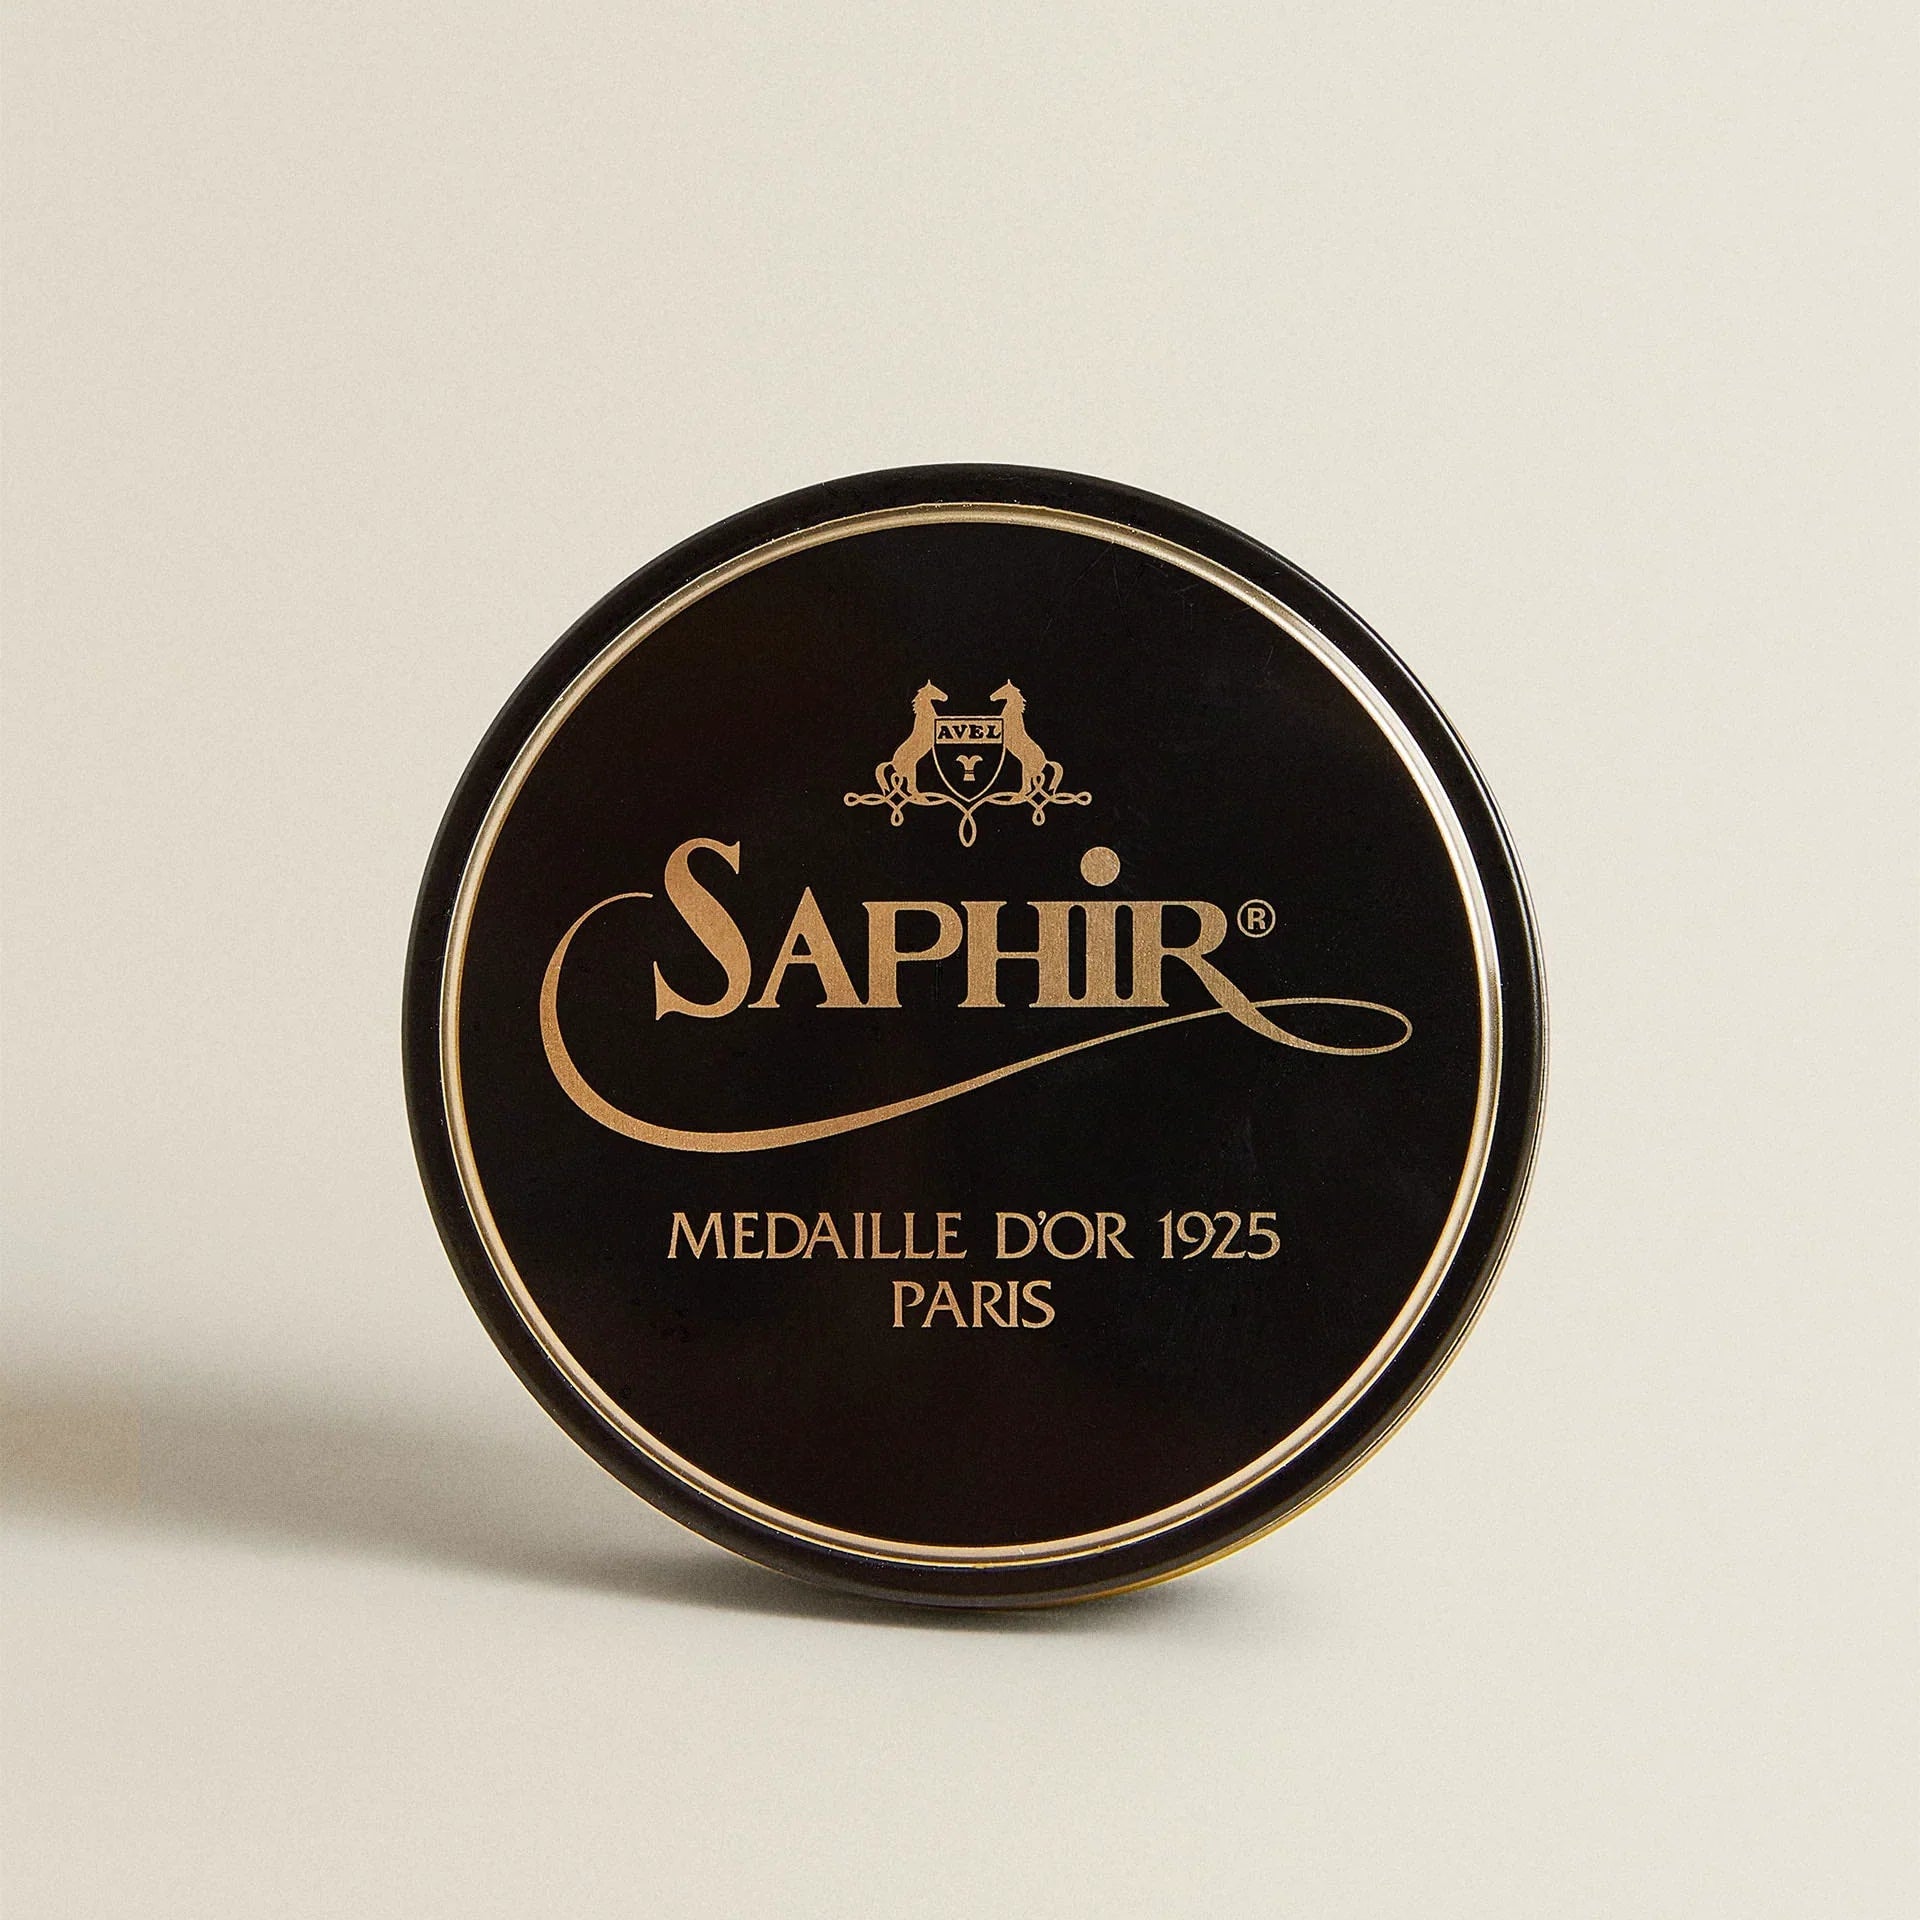
Among many products, we recommend Saphir Renovateur for calf leather shoes. Use it just before polishing or as a standalone treatment between wears. Apply with a clean, soft cotton cloth wrapped around one or two fingers, using small circular motions.
The welt area, often overlooked, is one of the most vulnerable parts of a Goodyear welted shoe. This construction stitches together the insole, leather upper, and welt, making it likely the strongest shoe on the market. To protect the welt, use a small brush (a welt brush or even a toothbrush) to apply a small amount of grease or dubbin between the welt and upper.
Step 5. Restore colour with natural shoe cream
This step is likely the most familiar—restoring the shoe’s colour with shoe cream. Use only natural-based cream, which nourishes and moisturizes the leather. Apply a small amount with a brush applicator or cotton cloth over the entire upper, working it in with circular motions. A slightly damp cloth can help spread the cream, but this is optional.
Step 6. Apply natural wax for high shine
For those who prefer a high shine rather than a subtle lustre, step six is key. Achieving a high gloss is more nuanced than it appears. Always use natural waxes, as “instant shine” products contain aggressive solvents and silicones. Only attempt high shining on rigid parts of the shoe; applying wax on flexible areas will push the wax out of pores and look unsightly.
To achieve a gloss finish, all you need is a cotton rag, wax, and some water (or saliva). Start on the toecap—the easiest place. Twist your cotton rag over one or two fingers to create an even surface. Lightly swipe the rag across the wax and apply a thin first layer in light circular motions. When clouds appear in the wax, moisten your rag lightly, swipe over the wax again, and repeat. Depending on the desired shine, this process can take from half an hour up to two or three hours.
The biggest mistake is using too much water, which wets the leather and creates matte spots. If this happens, let the shoes dry completely before continuing.
Step 7. The final touch
This step is optional but recommended for a flawless look. After conditioning, creaming, and waxing, wear the shoes for a few seconds. Then, use a soft cotton cloth or brush to remove any excess cream or wax.
Step 8. Rotate
Along with using shoetrees, rotating your shoes daily will extend their lifespan the most. Everyone’s feet perspire—even if unnoticed—causing moisture buildup inside shoes, which warps leather. Plus, why wear the same pair every day?